
In this article we are going to answer the question How to Plant Annual Seeds Outdoors. Planting seeds directly into your garden—as opposed to planting them indoors in containers and then transplanting the seedlings into your garden—is called direct sowing.
Though any annuals can be sown outdoors, some annuals in particular should be sown directly because they develop deep root systems that make it difficult or even impossible to transplant them once they’re sown.
Table of Contents
Why Direct-Sow Annual Seeds?
In short, direct sowing is easier than sowing seeds indoors. Whereas sowing seeds indoors requires a setup of containers, benches or racks to hold the containers, and sometimes artificial lighting, direct sowing doesn’t require any of that equipment or the extra space in your home to accommodate it.
Requirements for Direct Sowing
The downside of direct sowing is that it’s often harder on the seeds that you plant. Indoors, you can give the seeds the perfect environment in which to sprout. Outdoors, the conditions are often beyond your control. As a result, you should always do two things when planting annual seeds outdoors:
- Sow on the right date: If you sow annual seeds too early in the season, they may be killed by a late frost after they sprout. If you sow too late, the young plants may not be able to survive hot temperatures. When planting annuals, it’s very important to plant annual seeds at the time indicated on the seed packet. The seed packets provide this date in terms of the last average day of frost, which is the date when the last frost occurs in an average year in your region. For instance, a seed packet may direct you to plant seeds three weeks after the last average day of frost.
- Prepare the beds: Proper soil conditions are important for any plant, but especially when direct sowing. When you’re growing annuals from seeds, it’s crucial that you test, improve, and single-dig any planting beds in which you plan to grow annuals in the fall . It’s also a good idea to loosen the soil and break up any clods with a soil rake before you plant the seeds.
How to Direct-Sow Annual Seeds
Once you know the last average day of frost in your region, you can begin to plan when to plant your difficult annual seeds. Look at each seed packet and find out when each annual should be sown relative to the last average day of frost. Then, follow these four steps to sow the seeds:
1. Prepare the Seeds Before Sowing
Small seeds and soft seeds can be sown right into the ground without any preparation. If the annual seeds you’re planting are hard and large enough that you can handle each one individually, make a nick in the outer shell by scraping it with a file, then soak the seeds overnight in water. This process will help the seed to sprout more quickly.
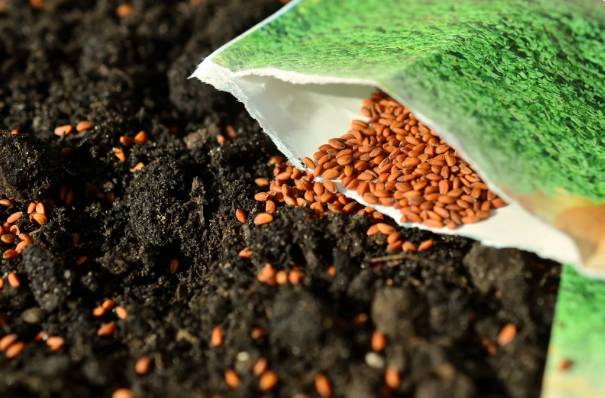
2. Sow the Seeds
The seed packet for the annual seeds you’re planting will specify:
- The depth at which the seeds should be sown
- The distance you need to put between each seed or group of seeds
For instance, nasturtium seeds should be planted at a depth of 1/2″, with 2″ between each seed. Rather than scatter the seeds, it’s best to plant each seed by hand, pushing it under the soil to the specified depth with your finger. Also, try to sow the plants in a recognizable pattern, such as a single row or a zigzag.
When you’re weeding, it can be hard to tell apart the newly sprouted seedlings that you want to grow from the weeds that you want to remove. Sowing seeds in a recognizable pattern will help you tell the plants apart so you don’t accidentally pull up seedlings that you just planted.
3. Water the Soil
Water the soil immediately after planting the seeds, and be careful to provide enough water both before and after the seeds sprout. The goal is to keep the soil damp at least to the depth at which the seeds are planted. Avoid making the soil wet or muddy, though.
4. Look for Sprouting Seedlings
For most seeds, it takes at least 10 days before sprouts will appear above ground—and some seeds may take twice that. Most seed packets list the annual’s days to emerge. Once seedlings do appear, be diligent about looking out for and removing weeds. Weeds steal nutrients from the soil, so by eliminating weeds you’ll help the seedlings grow.
5. Thin the Seedlings
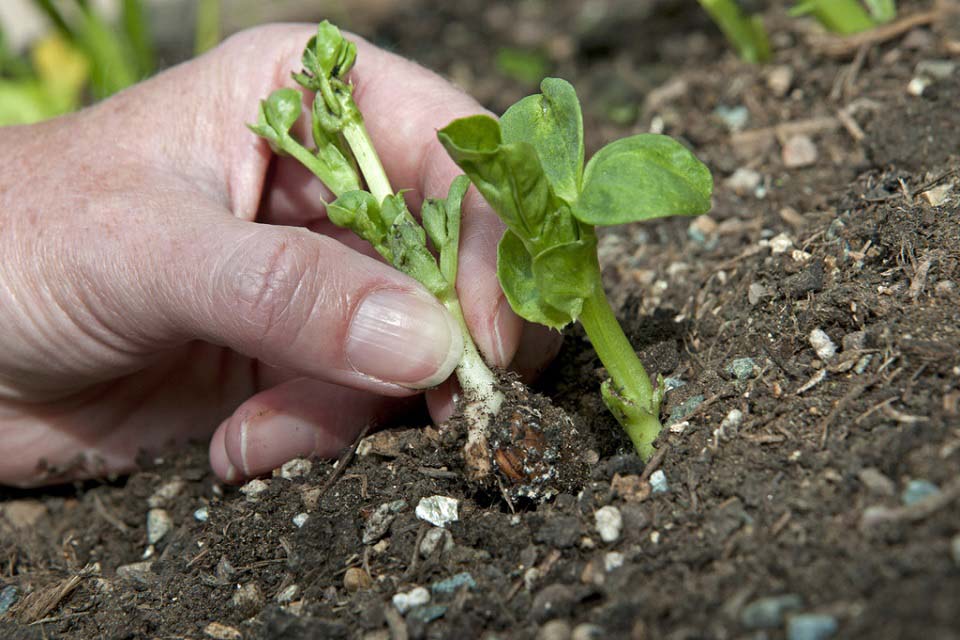
img: schoolgardening.rhs.org.uk
Thinning seedlings is the process of removing some seedlings from the soil so that the other seedlings will have more room to grow and thrive. You should thin out seedlings once they’ve grown two pairs of true leaves.
The first two leaves that appear on a seedling are not true leaves but rather cotyledons, which don’t look like the leaves on the adult plant. True leaves will grow after the cotyledons and will look like the plant’s adult leaves.
For instance, though you should plant nasturtium seeds just 2″ apart, adult nasturtiums do best with 6–12″ inches of space. So when two sets of true leaves appear on nasturtium seedlings, carefully pull out some of the seedlings to give the remaining ones the space they need to grow.