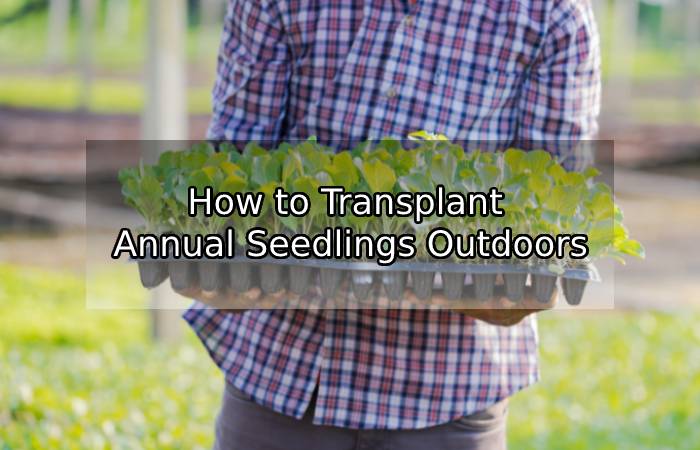
In this article we are going to learn How to Transplant Annual Seedlings Outdoors. Transplanting a seedling outdoors—moving it from indoors to outdoors—can give the plant a real shock to its system, even if it’s been hardened off.
To make the transition as easy as possible for the plant, try to transplant on an overcast, mild day soon after the transplant date indicated on the seed packet. It’s generally best to transplant into a bed that has been either single-dug or double-dug the autumn before. To transplant a seedling:
1. Water the potting soil and your garden beds: Water the seedlings in their containers and the soil of the flower bed the night before you plan to transplant. The soil should be just a bit moist when you’re finished watering.
2. Remove the seedlings from the container: To get seedlings out of a container, lift the container and gently dump its contents into your hand. Usually, the potting soil and seedlings in the container will fall right into your hand. You can then brush away the potting soil, though the seedlings in the container will likely be clumped together at the roots. If the soil and seedlings don’t dump out when you turn the container on its side, you may have to scrape along the sides of the container with a knife before dumping the contents into your hand.
3. Untangle the seedlings: Very gently, holding the seedling only by a leaf if possible, pull one seedling away from the clump of other seedlings. Free that seedling from the others by untangling its roots from the others’ roots with your fingers.
4. Dig a hole: Using a trowel, dig a small hole in your flower bed. The hole should be about twice the width and height of the seedling’s root ball—the roughly circular clump formed by its roots.
5. Plant the seedling: Place the seedling in the hole and cover it with soil so that the seedling sits at the same depth as it did in the container. When returning soil to the hole, make sure that it fills the hole fully—open spaces are bad for the plant because it means the plant’s roots won’t be in contact with the soil. As a precaution, press down on the soil around the seedling to fill in any remaining empty spaces.
6. Repeat: Plant every seedling as described above. Make sure that the holes you dig are the distance apart specified by the seed packet.
7. Water: Water all the transplanted seedlings until the soil is moist. Spray the water only very lightly, and take care not to wash away any topsoil, which might expose the roots of your newly transplanted seedlings.
How to Protect Seedlings After Transplanting
Seedlings are very vulnerable just after transplanting—they’re still physically delicate, and because it’s still close to the last average frost date, a late frost might occur and kill the seedlings.
In the first weeks after you’ve planted your seedlings, pay attention to the weather forecast. If a frost is expected, try to protect your plants overnight by covering them with styrofoam cups.