In addition to growing perennials from seeds or seedlings, you can also propagate them from by cutting a bit of stem from an already established perennial and then planting it. Like perennials propagated by division, perennials propagated from stem cuttings tend to grow and flower more quickly than perennials grown straight from seeds.
Perennials to Propagate by Stem Cuttings
Generally, it’s faster to propagate perennials by division than by stem cuttings. So unless you have a particular perennial that you know can’t be propagated by division, try to divide it before you try to take stem cuttings.
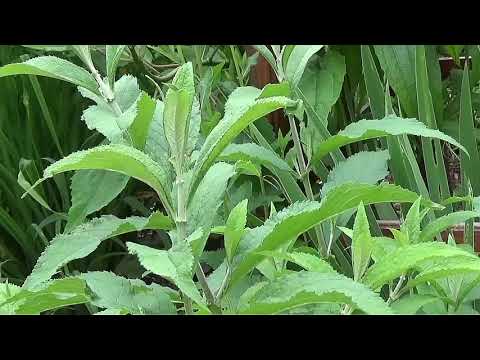
A number of perennials are particularly well-suited to propagation by stem cuttings, including asters, ajuga, chrysanthemums, forsythias, hens and chicks, lavender, sedums, and weigelias.
How to Take Stem Cuttings
For most perennials, the best time to take stem cuttings is in the spring or early summer, when the plant is growing but hasn’t yet bloomed.
- Prepare a container: Fill a container (or containers, depending on how many cuttings you’ll be growing) that provides good drainage with washed coarse sand. Do not use potting soil. Coarse sand, which is sold at nurseries and garden centers, provides much faster drainage, which is important because cuttings that are developing roots tend to rot if they get too wet. Moisten the sand before putting it in the container.
- Take the cutting: Cut off the top 4″ of a stem or branch just below a leaf or group of leaves. Never take more than one cutting from the same branch. The goal is to get only the most recent growth.
- Trim the cutting: Quickly trim off the leaves on the bottom 2″ of the cutting, leaving just a few leaves at the top of the cutting.
- Apply rooting hormone: Rooting hormone, a plant hormone that stimulates root growth, is sold in powdered or liquid form at nurseries and garden centers. Prepare the hormone as indicated on the package and dip the base of the cutting into it.
- Make a hole: Make a 2″-deep hole in the coarse sand, just a bit wider than the stem of the cutting.
- Stick the cutting: Place the cutting into the hole in the potting mixture, then use your fingers to press the soil in against the planted stem. There should be no air between the stem and the potting mixture.
- Cover the container: To create a humid environment for the cuttings, drape plastic wrap over the container or cover it with an overturned fish tank.
- Provide light: For best results, place the covered container under a fluorescent grow light (though you could also place it in any location that’s bright but doesn’t receive very much direct sunlight).
- Water: Water regularly using a misting bottle. The goal is to keep the potting mix moist at all times, but not wet. You should mist for a short while a number of times a day.
Once the stem has grown new leaves (after about a month), remove the covering and continue to water for another two weeks until the plants are firmly established. Then you can harden off the plants and transplant them to your garden.